Connect Vercel and Neon manually
Learn how to connect a Vercel project to a Neon database manually
This guide describes how to manually connect a Vercel project to a Neon database.
note
For other Vercel integration options, refer to the Neon and Vercel integration overview.
Prerequisites
- A Neon project. If you do not have one, see Create a project.
- A Vercel account.
- A project deployed to Vercel. If you do not have one, see Creating a project, in the Vercel documentation.
Gather your Neon connection details
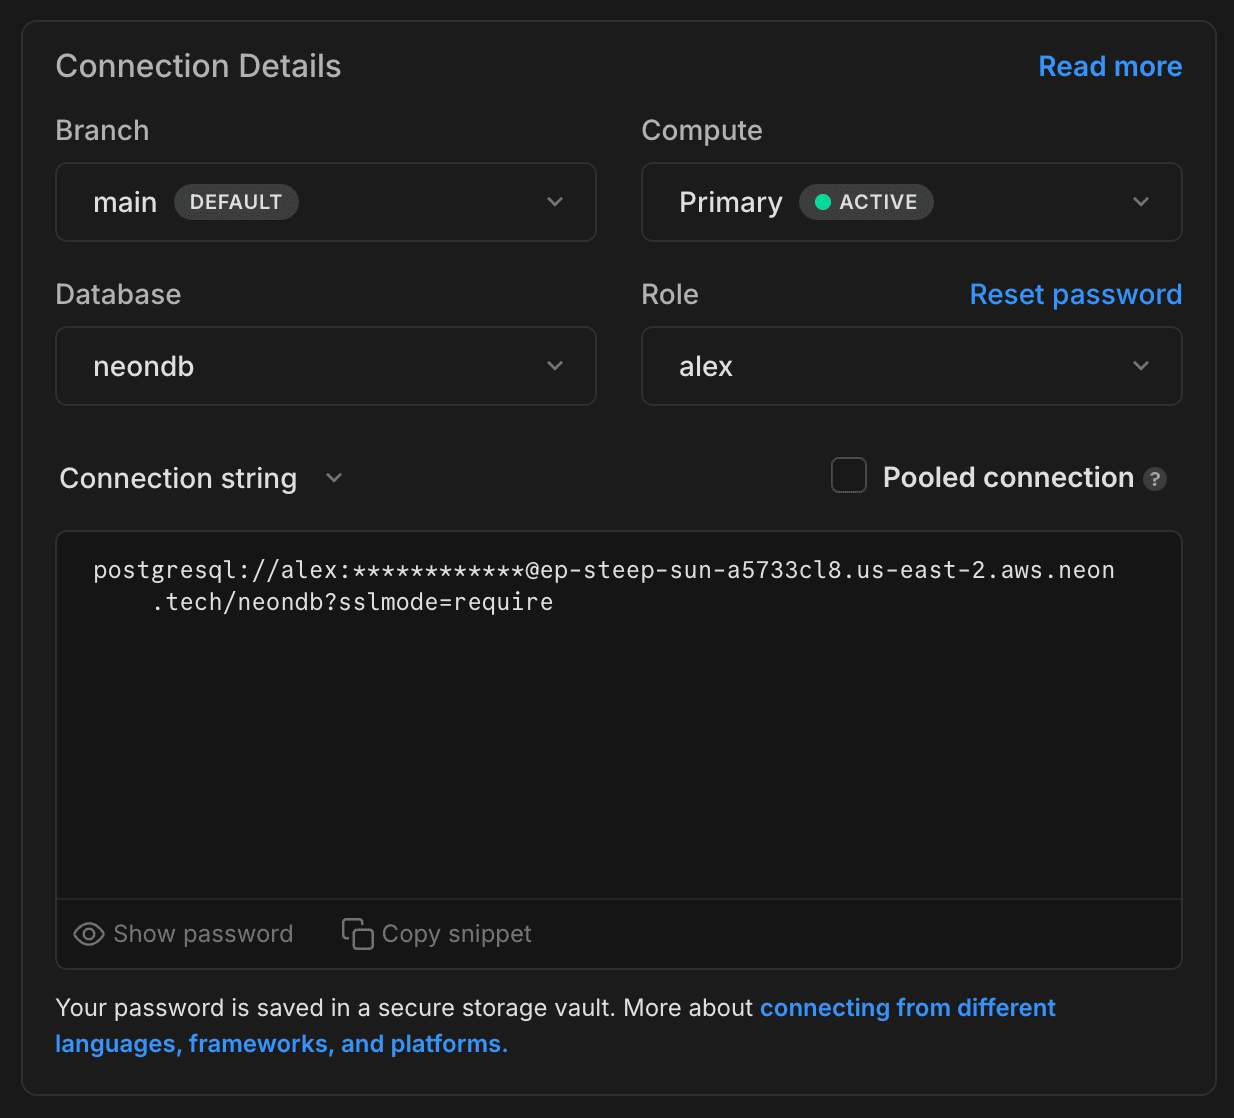
You can these details from the Connection Details widget on the Neon Dashboard. Select a branch, a role, and the database you want to connect to. A connection string is constructed for you.

The connection string includes the role name, hostname, and database name. For example:
postgresql://alex:AbC123dEf@ep-cool-darkness-123456.us-east-2.aws.neon.tech/dbname
           ^              ^                                               ^
|- <role> |- <hostname> |- <database>- role name:
alex - hostname:
ep-cool-darkness-123456.us-east-2.aws.neon.tech - database name:
dbname
Configure project environment variables in Vercel
The environment variables required to connect your application to Neon depend on your application. Some applications use a DATABASE_URL environment variable with a database connection string:
DATABASE_URL="postgresql://alex:AbC123dEf@ep-cool-darkness-123456.us-east-2.aws.neon.tech/dbname"Other applications may use PG* environment variables to define database connection details:
PGUSER=alex
PGHOST=ep-cool-darkness-123456.us-east-2.aws.neon.tech
PGDATABASE=dbname
PGPASSWORD=AbC123dEf
PGPORT=5432
note
Neon uses the default Postgres port, 5432.
To configure the environment variables required by your application:
note
Vercel environment variables can also be configured when you first deploy an application to Vercel.
- Navigate to the Vercel dashboard.
- Select your Vercel project.
- Select Settings.
- Select Environment variables.
- Enter the environment variable name in the Key field and add the value.
- Click Add another if you need to add more variables.
- Select the Vercel environments to which the variable(s) will apply (Production, Preview, Development).
- Click Save.

You must redeploy your application in Vercel for the environment variable settings to take effect.
Need help?
Join our Discord Server to ask questions or see what others are doing with Neon. Users on paid plans can open a support ticket from the console. For more detail, see Getting Support.