Using Payload CMS with Neon Postgres to Build an E-commerce Store in Next.js
Build your own E-commerce Store in a Next.js application with Payload CMS and Postgres (powered by Neon).
In this guide, you will learn how to set up a serverless Postgres database with Neon, configure Payload CMS with Postgres, and seed the Postgres database using the pre-populated information in Payload CMS Ecommerce template.
Prerequisites
To follow the steps in this guide, you will need the following:
- Node.js 18 or later
- A Neon account
Steps
- Provisioning a Serverless Postgres database powered by Neon
- Create a new Payload CMS application with Next.js
- Seed your Postgres database
- Build and Test your E-commerce Store (locally)
- Scale-to-zero with Postgres (powered by Neon)
Provisioning a Serverless Postgres database powered by Neon
Using a serverless Postgres database powered by Neon lets you scale down to zero, which helps you save on compute costs.
To get started, go to the Neon console and create a project.
Enable Pooled connection in the Connection String section of the Connection Details panel to obtain the Postgres connection string.
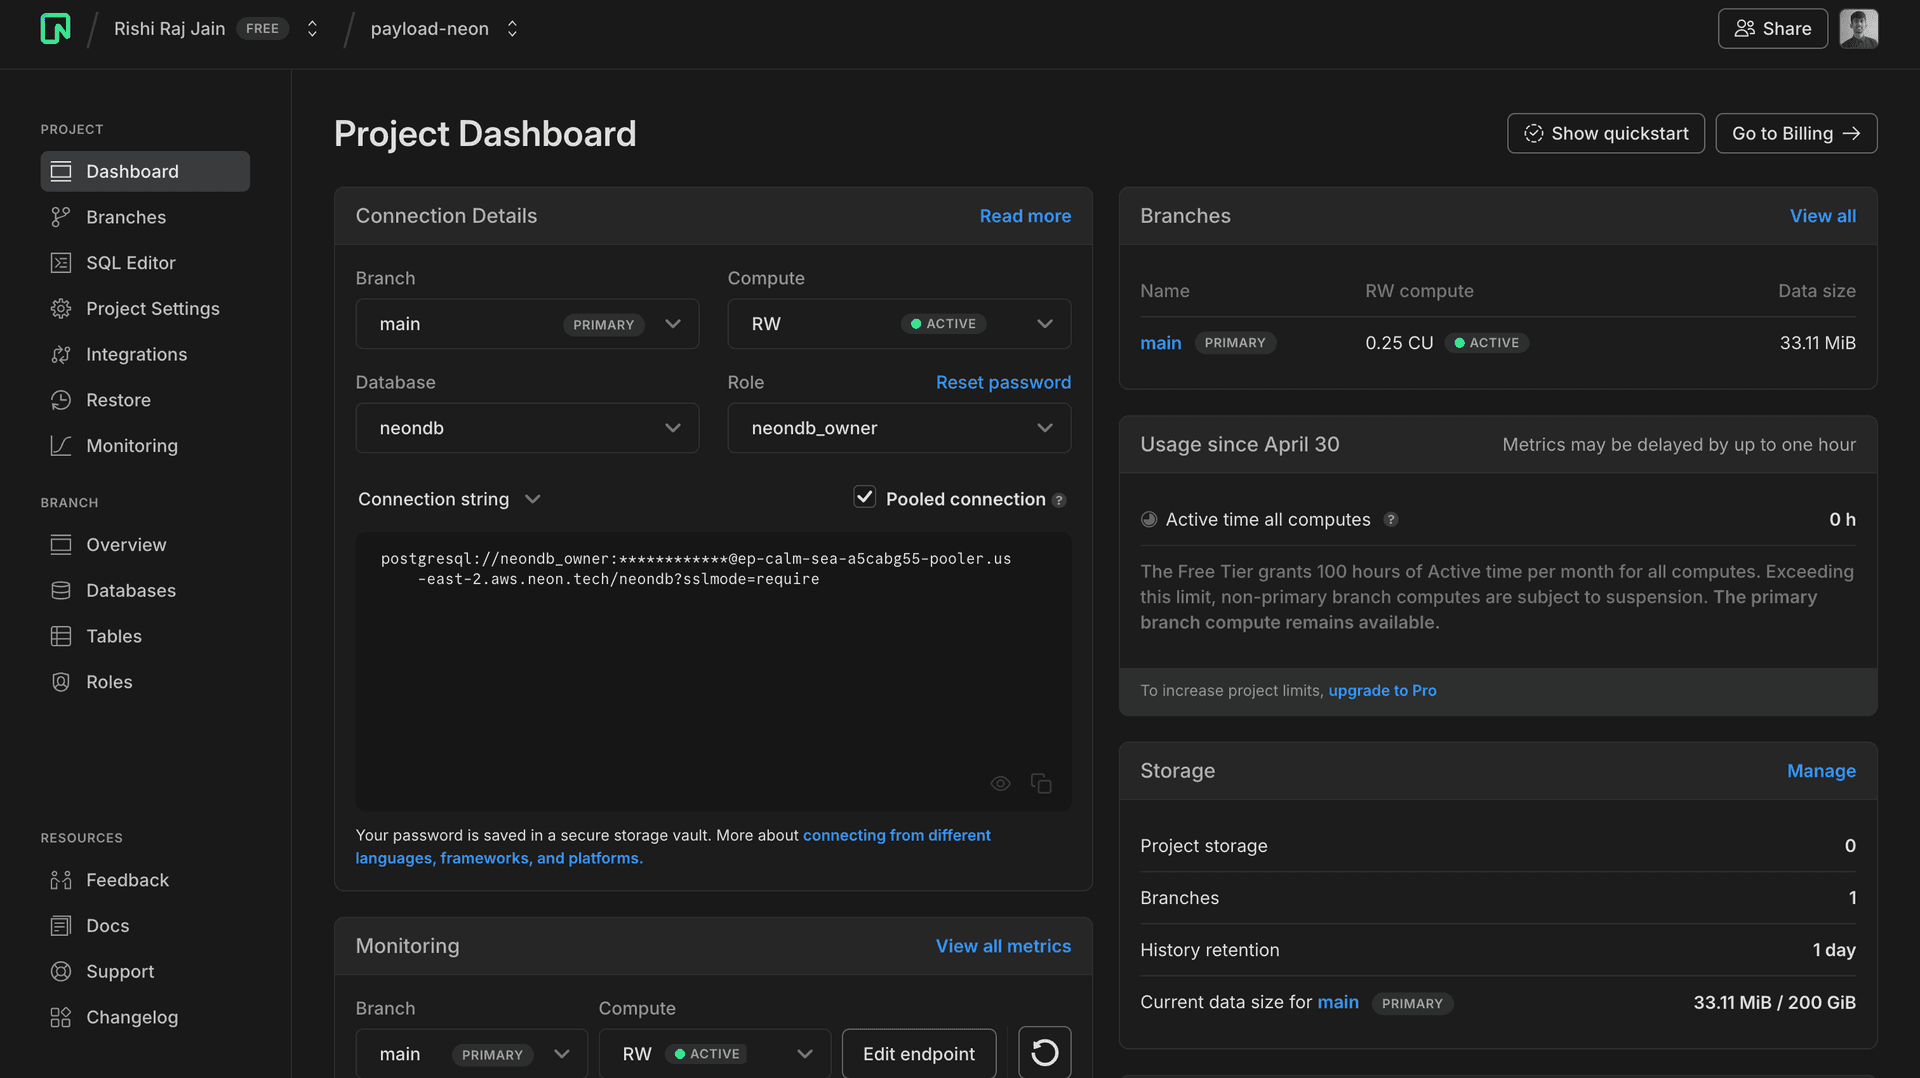
All Neon connection strings have the following format:
postgres://<user>:<password>@<endpoint_hostname>.neon.tech:<port>/<dbname>?sslmode=require<user>is the database user.<password>is the database user’s password.<endpoint_hostname>.neon.techis the host withneon.techas the top-level domain (TLD).<port>is the Neon port number. The default port number is 5432.<dbname>is the name of the database. neondb is the default database created with each Neon project if you do not define your own.?sslmode=requireis an optional query parameter that enforces SSL mode for better security when connecting to the Postgres instance.
Save the connecting string somewhere safe. You will use it later to configure the POSTGRES_URL variable.
Create a new Payload CMS application with Next.js
Let's begin with creating a Payload CMS backend to serve all the content for your e-commerce store in Next.js. Open your terminal and run the following command:
npx create-payload-app@latest payload-neon-ecommerce-storenpx create-payload-app is the recommended way to scaffold a Payload CMS + Next.js project quickly.
When prompted, choose the following:

ecommerceas the project template.PostgreSQL (beta)as the database.- The connection string you obtained earlier as the PostgreSQL connection string:
postgres://<user>:<password>@<endpoint_hostname>.neon.tech:<port>/<dbname>?sslmode=require.
Once that's done, change to the project directory and start the app:
cd payload-neon-ecommerce-store
yarn && yarn dev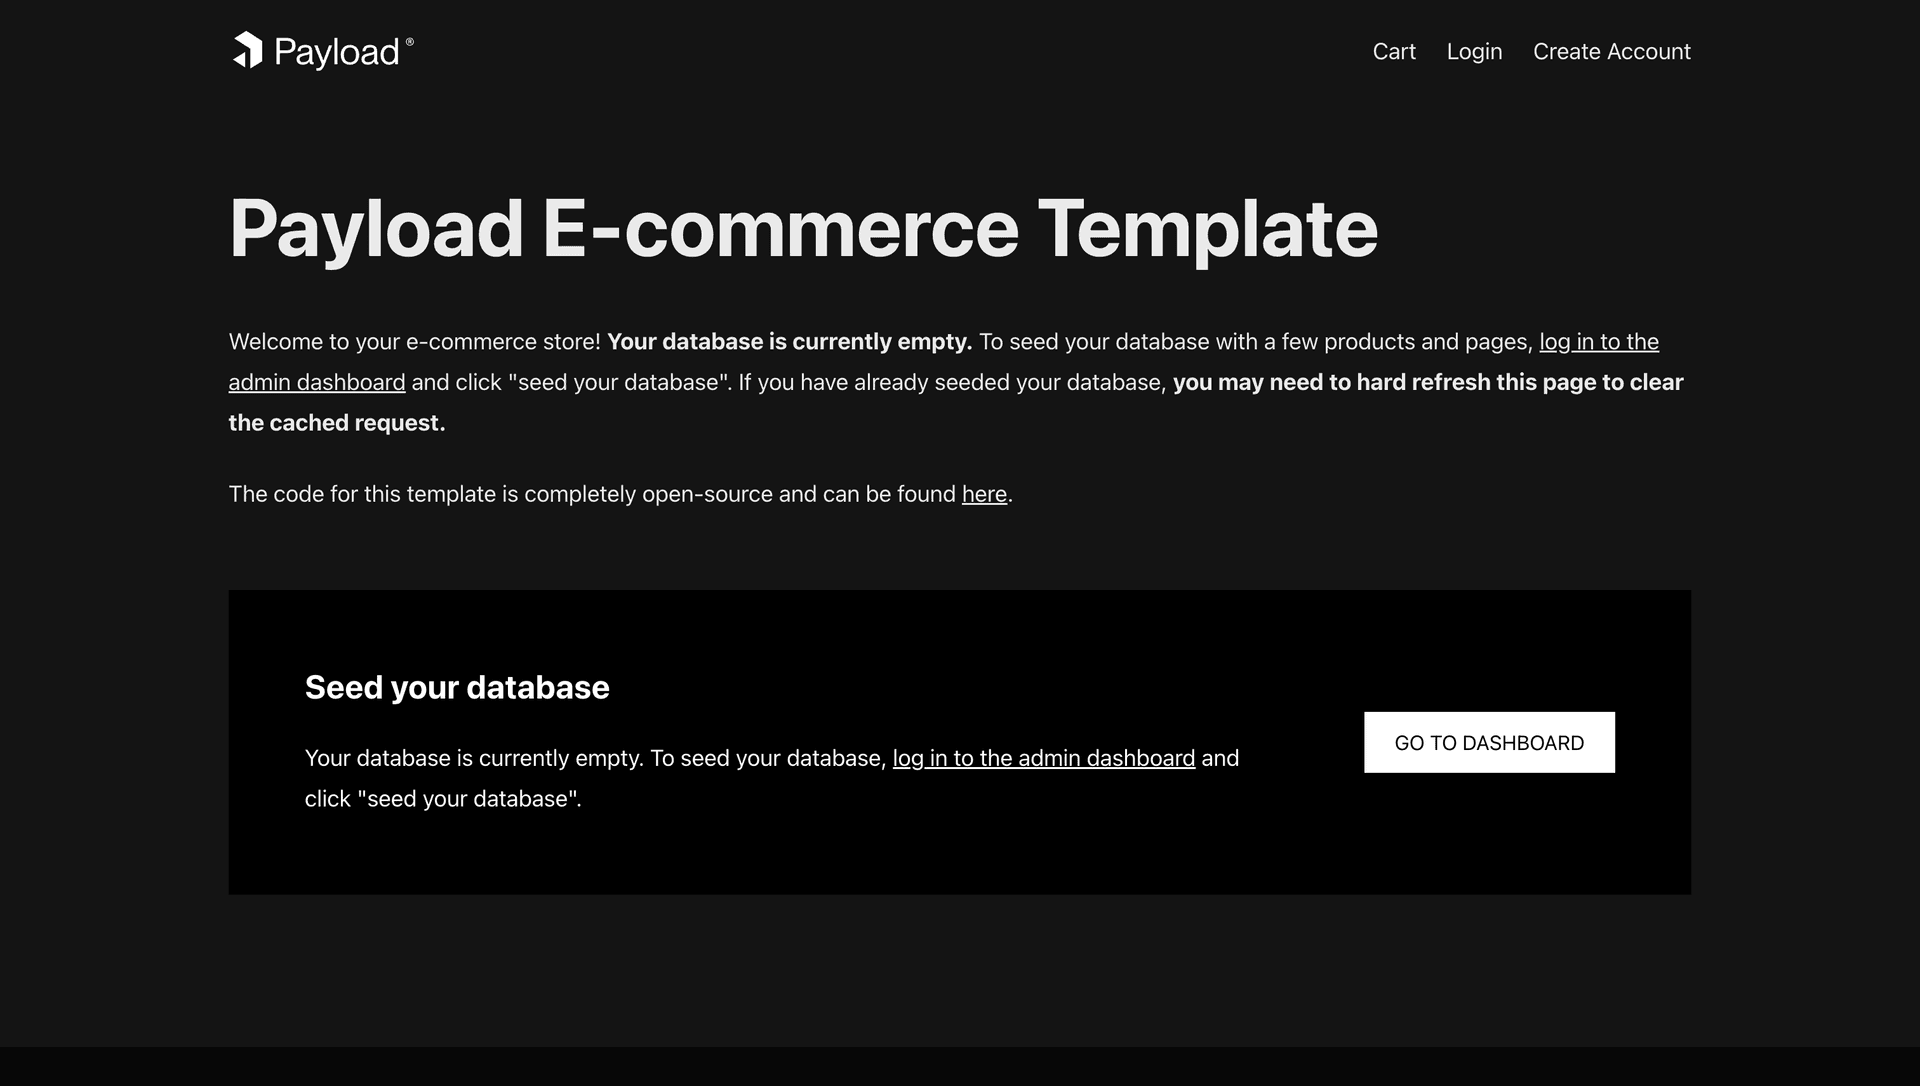
The app should be running on localhost:3000. Let's keep the development server running as we work through the next steps.
Next, let's move on to adding e-commerce seed data to your Neon Postgres database.
Seed your Postgres database
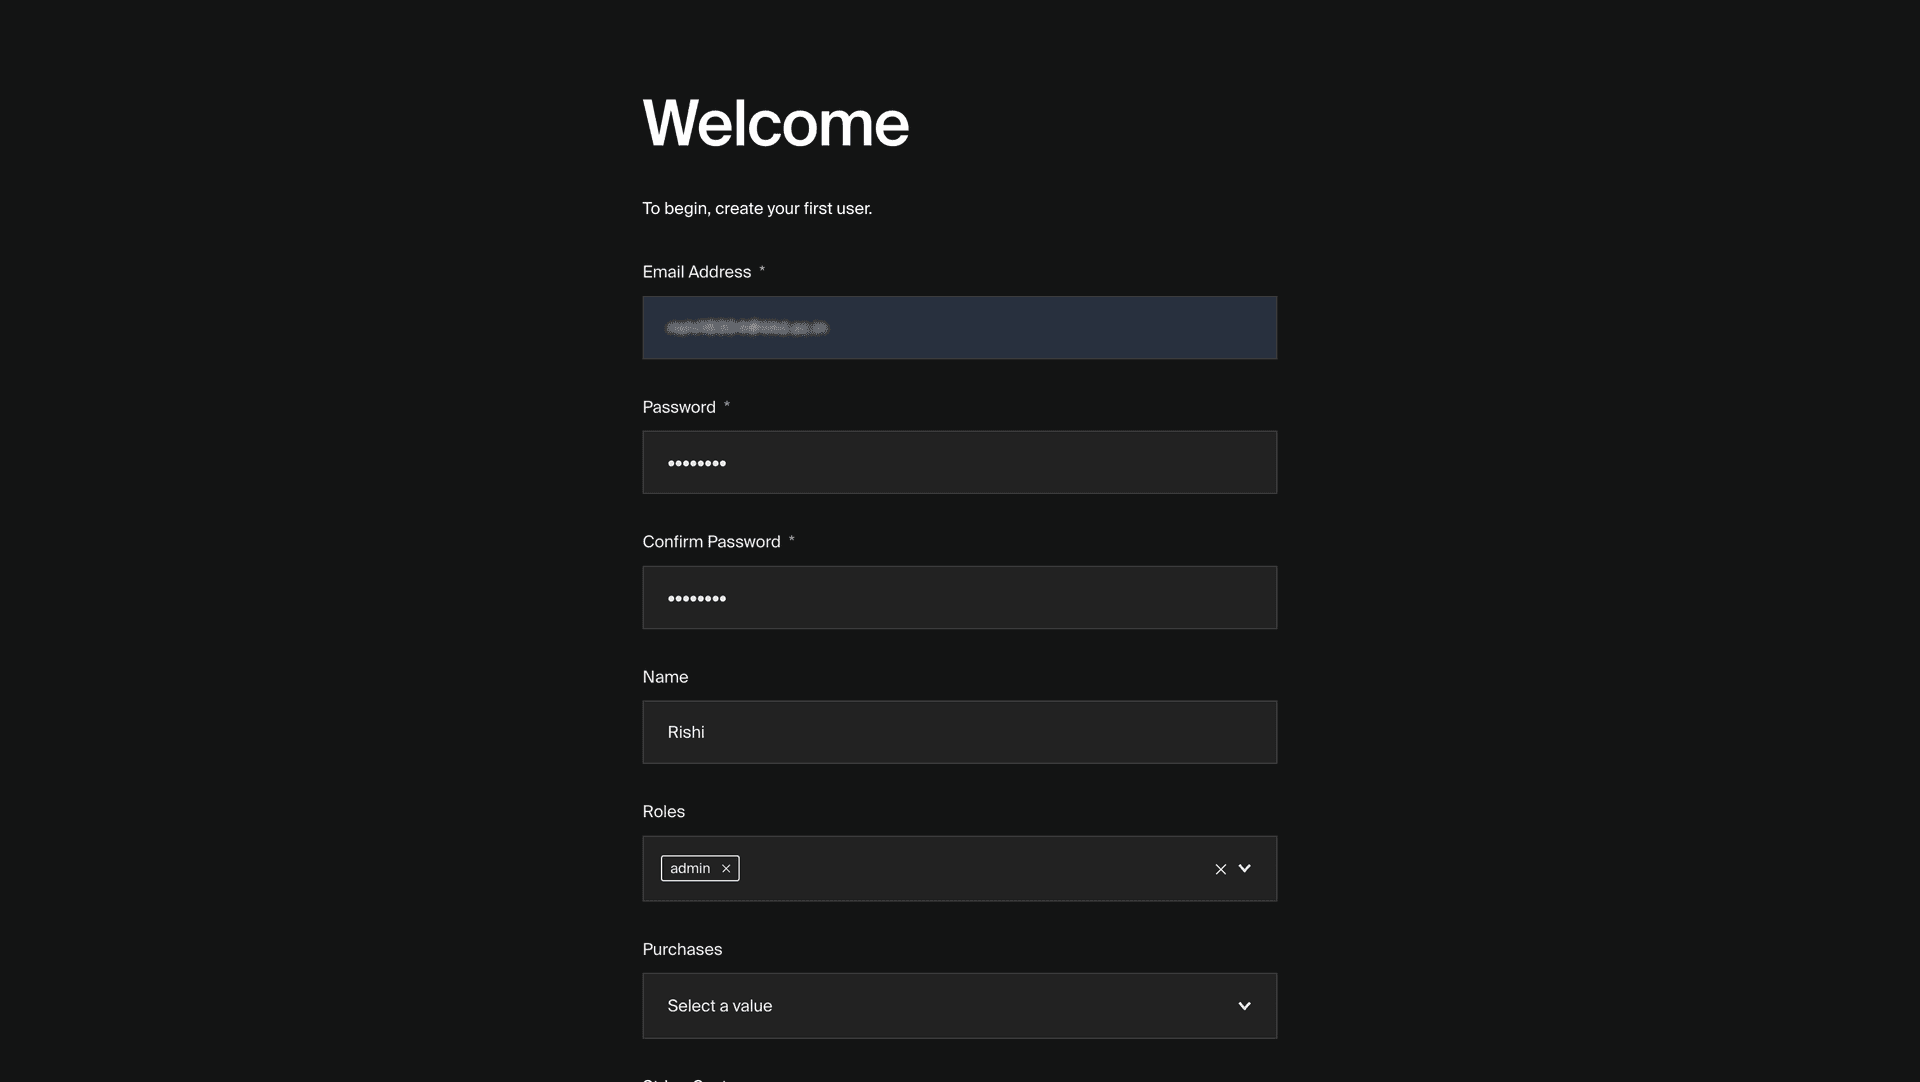
The ecommerce template is pre-configured with a seed database. To add the seed data to your Postgres database, navigate to the Payload CMS admin console at localhost:3000/admin. Enter only the required attributes: Email, Password, Name and Role.
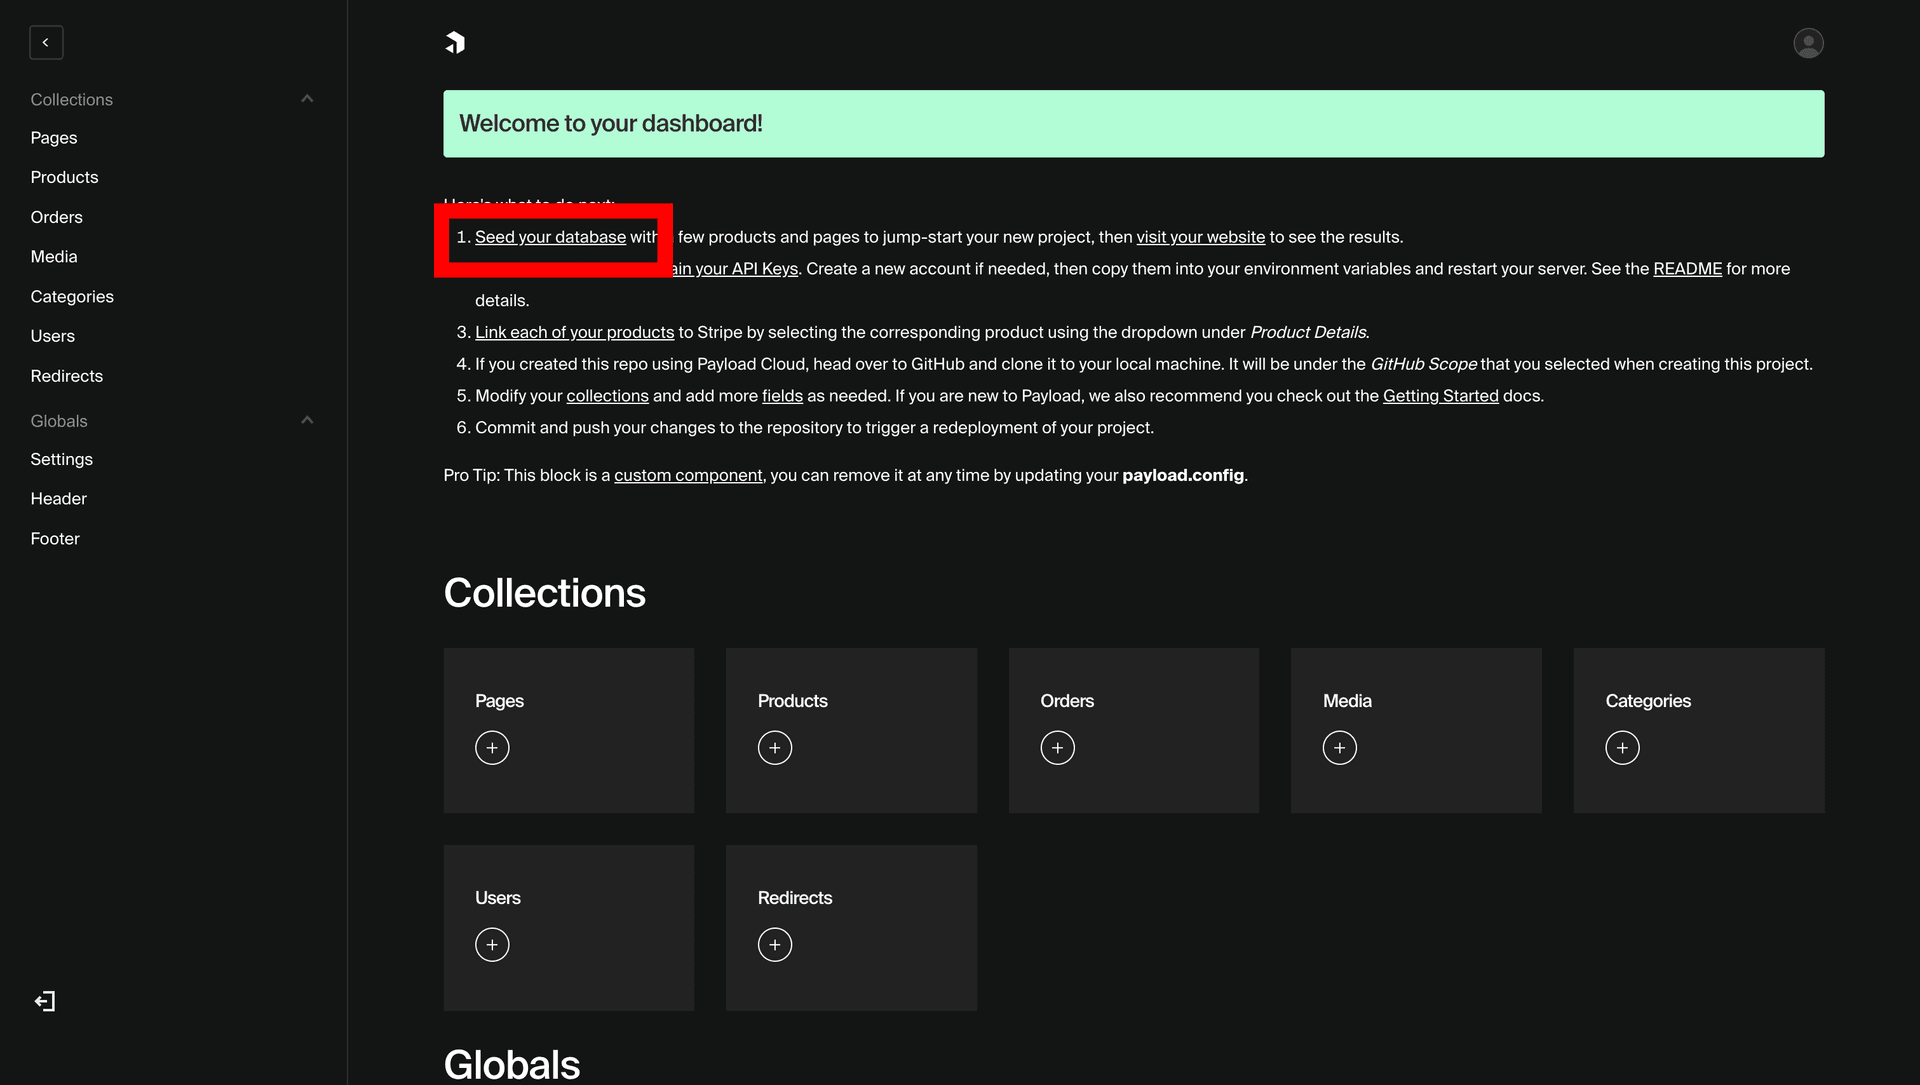
Once you are inside the admin view, click Seed your database to start the process of seeding your database with e-commerce data.
Once you see the following message in your terminal, you are done with adding seed data to the database.
INFO (payload): Seeded database successfully!Now, let's move on to building the application and previewing it in action.
Build and Test your E-commerce Store (Locally)
To test the e-commerce store in action, prepare a build and run the preview server using the following command:
yarn build && yarn serveThe app should now be running on localhost:3000. Navigate to http://localhost:3000/products/online-course to view the product display page of Online Course product.
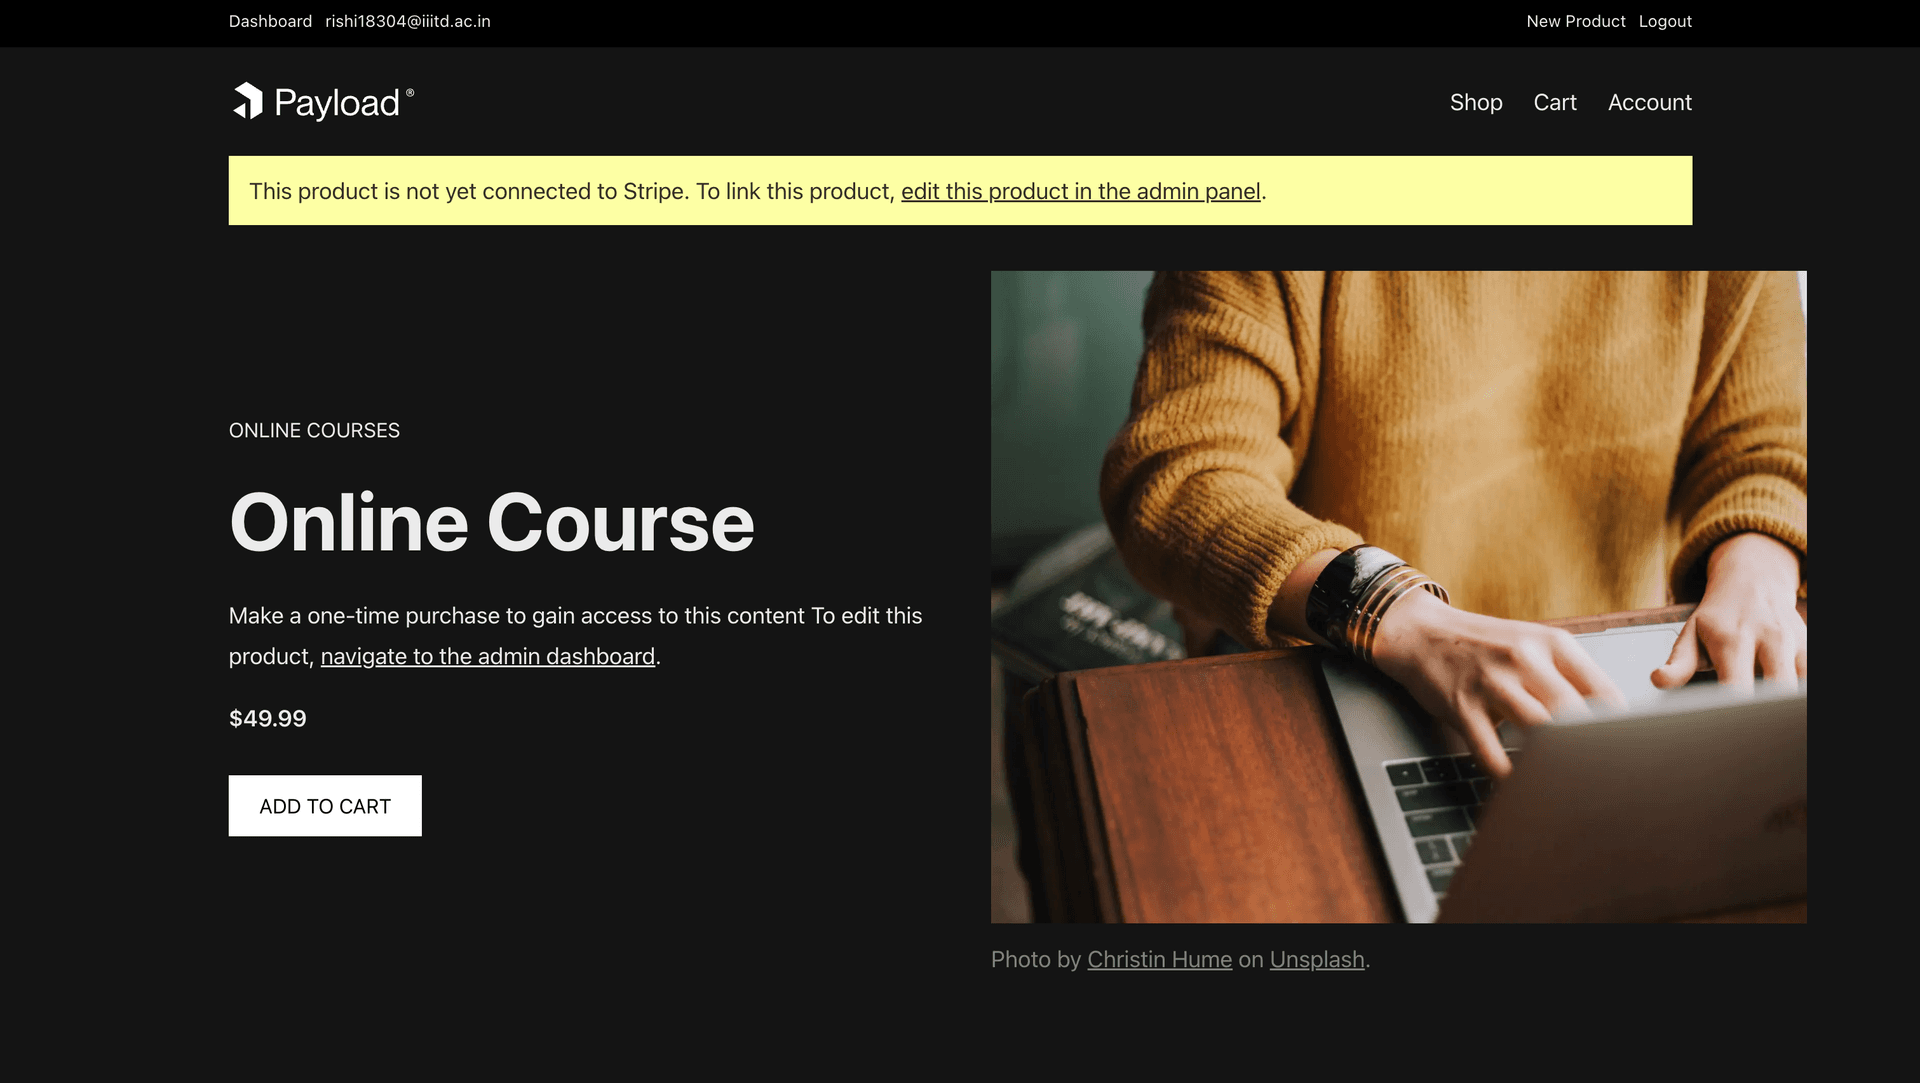
Congratulations! You have now completed creating your own e-commerce store ✨
Scale-to-zero with Postgres (powered by Neon)
Interestingly, during the entire process of setting up this app, you were using Neon's Scale-to-zero feature, which places your Postgres compute endpoint into an Idle state when the database is inactive for more than 5 minutes. Click the Operations button in your Neon console sidebar to see when the compute was started and automatically suspended to reduce compute usage.

Summary
In this guide, you learned how to build an e-commerce store in Next.js using Payload CMS and a serverless Postgres database (powered by Neon). Furthermore, using Postgres (powered by Neon) allowed you to save on cloud compute resources when the compute endpoint that runs Postgres was idle for more than 5 minutes.
Need help?
Join our Discord Server to ask questions or see what others are doing with Neon. Users on paid plans can open a support ticket from the console. For more detail, see Getting Support.